
You can really be creative with your measuring angles worksheets and activities. It’s a math concept that lends itself to hands-on and engaging lessons. Of course, reading a protractor can be challenging for students, so they will need practice working with a protractor. In this post, I’ve shared some of my favorite measuring angles worksheets, activities, and lessons. You can find all of the lessons here.
By the time students begin measuring angles, they will have likely learned about types of angles through the geometry in second, third, and possibly fourth grade. Hopefully, students will be familiar with the terms acute, right, and obtuse.
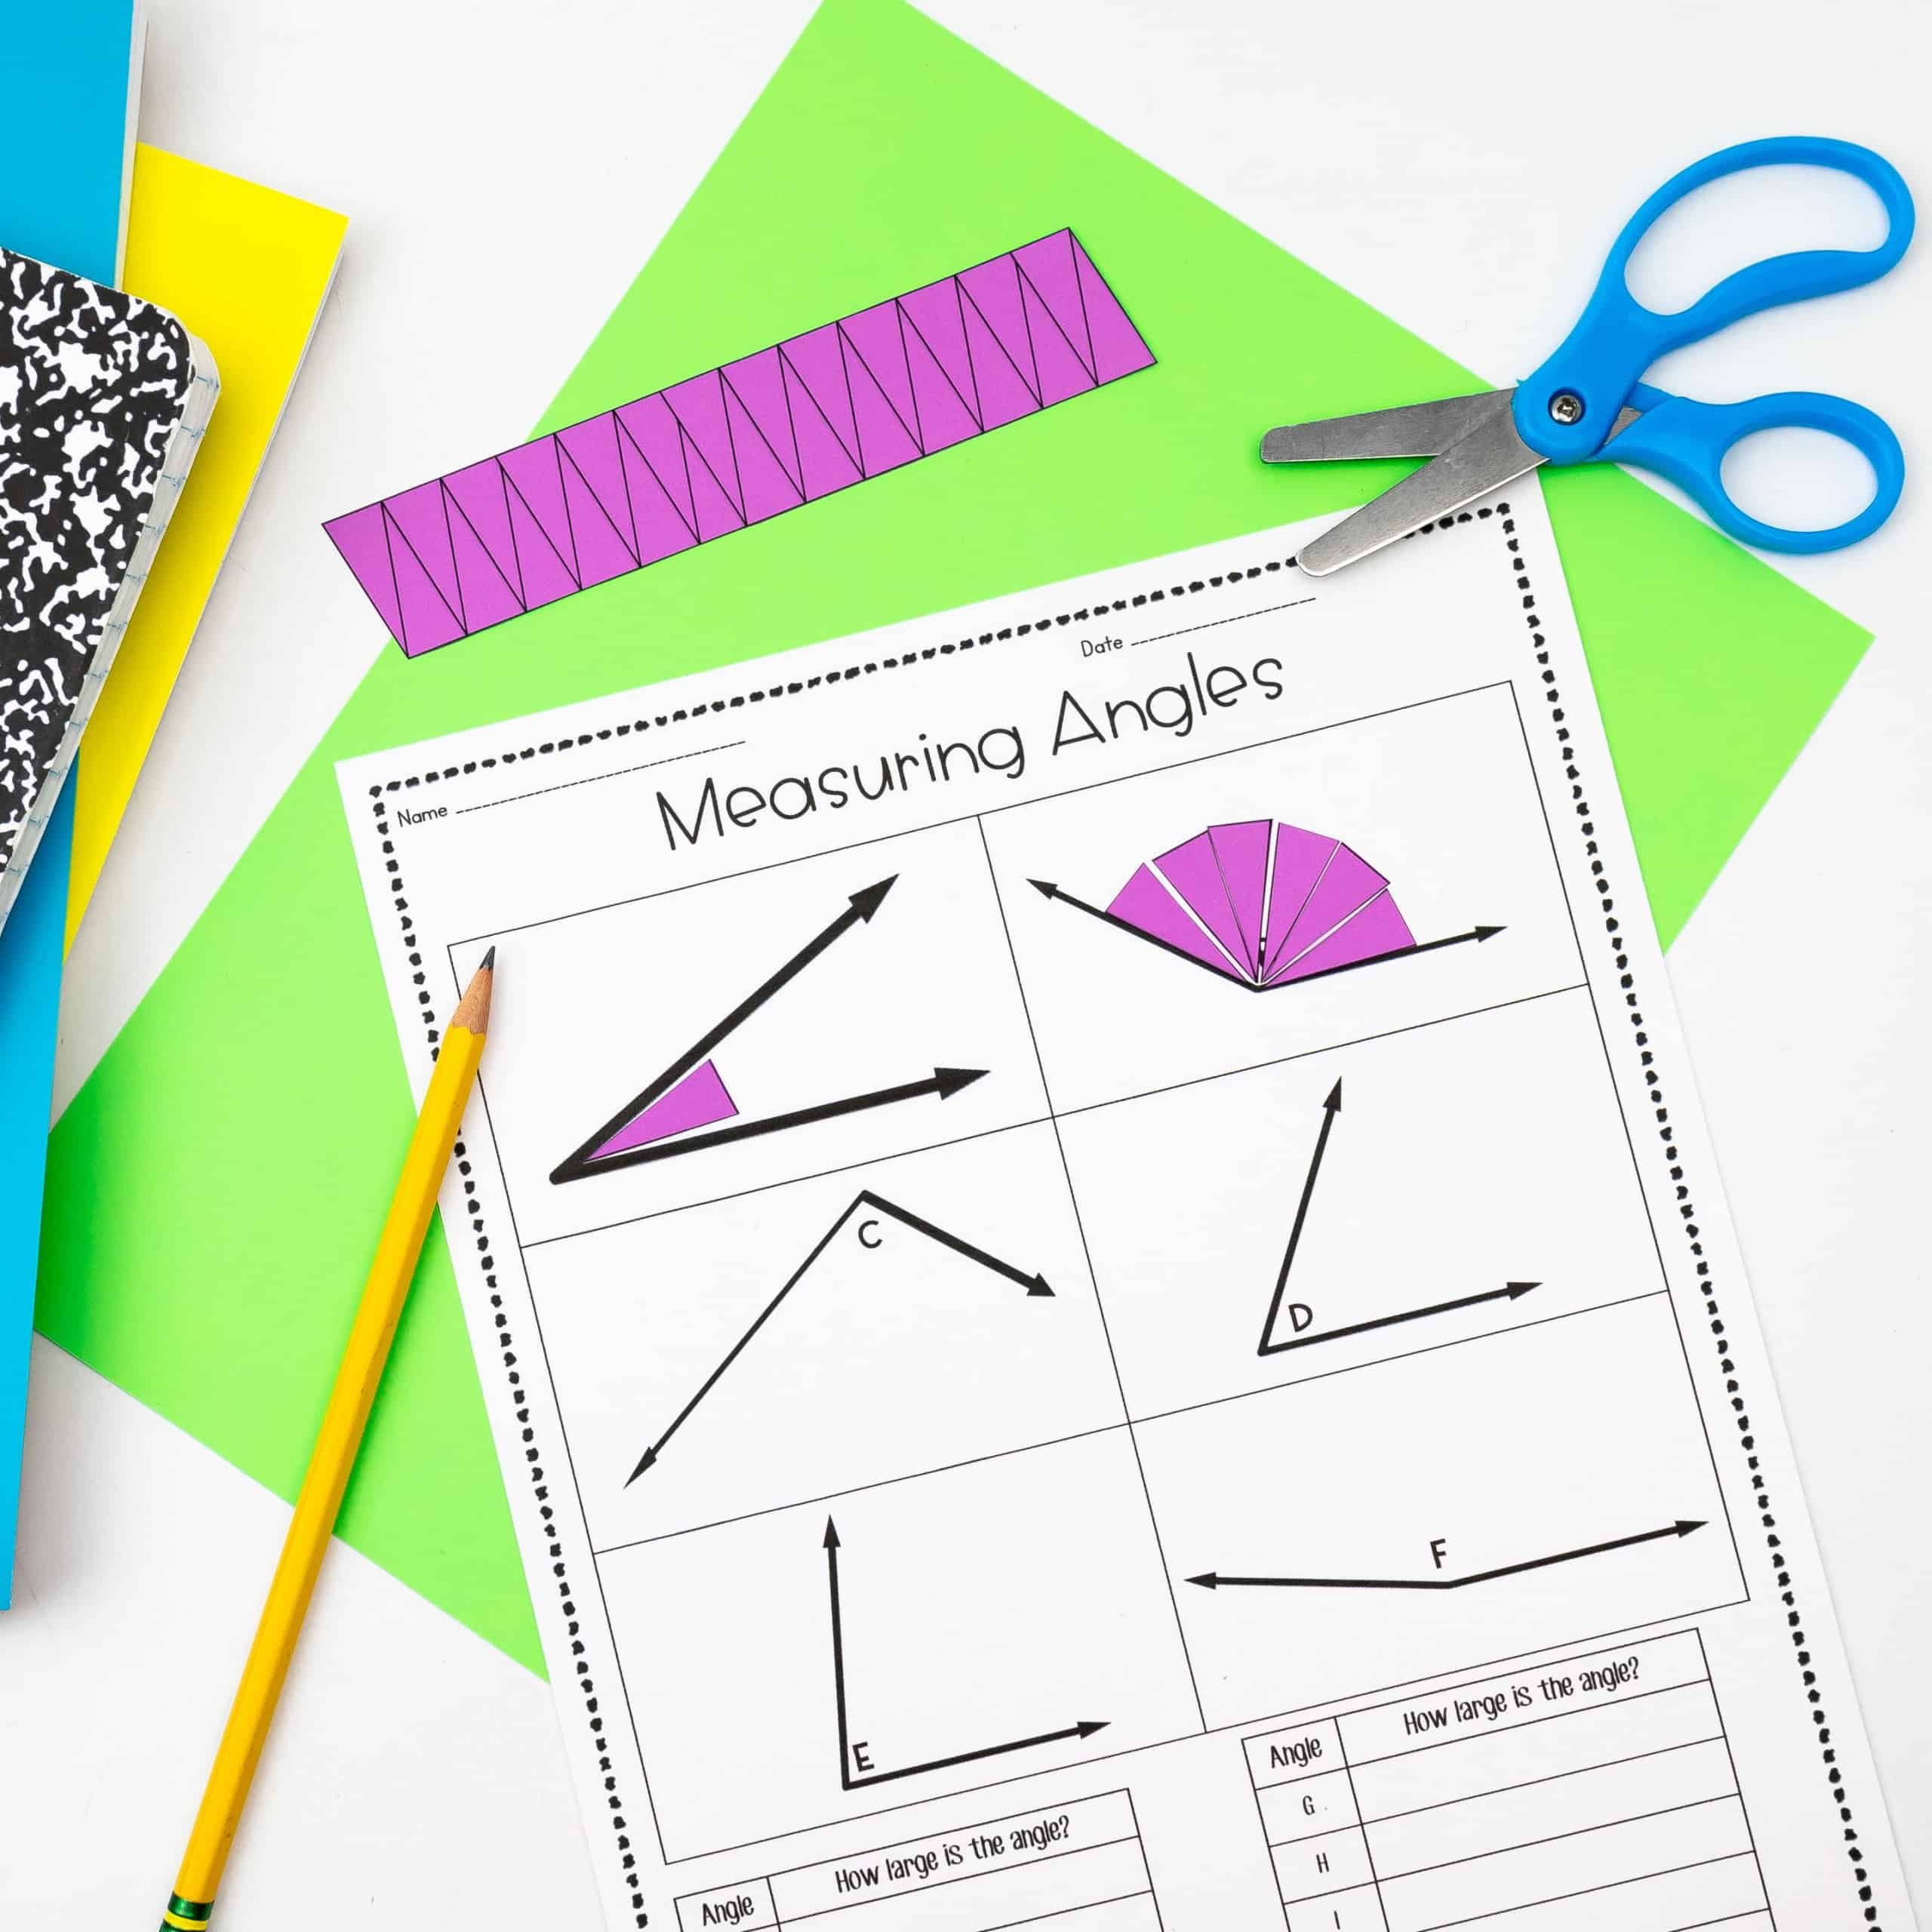
Before teaching students how to use a protractor, it is import for students to conceptualize the attribute of the spread of the rays that create the angle. In this lesson students measure angles with a non-standard unit. Give students an index card and have students draw a narrow angle on the index card and cut it out The wedge that is cut out should be used as a unit of angular measure by counting the number of units that will fit in a given angle. Students should use their unit of measure to measure the angles on the Measuring Angles worksheet.
If each student creates his/her own wedge the total units needed will vary. If you use the included triangles, the measurements should be similar. After students have the opportunity to measure, discuss what will happen if the size of the unit increases. Cut a new, larger unit out and measure a few of the angles.
Then, discuss what will happen if the size of the unit decreases. Cut out a new, smaller unit and measure a few of the angles.
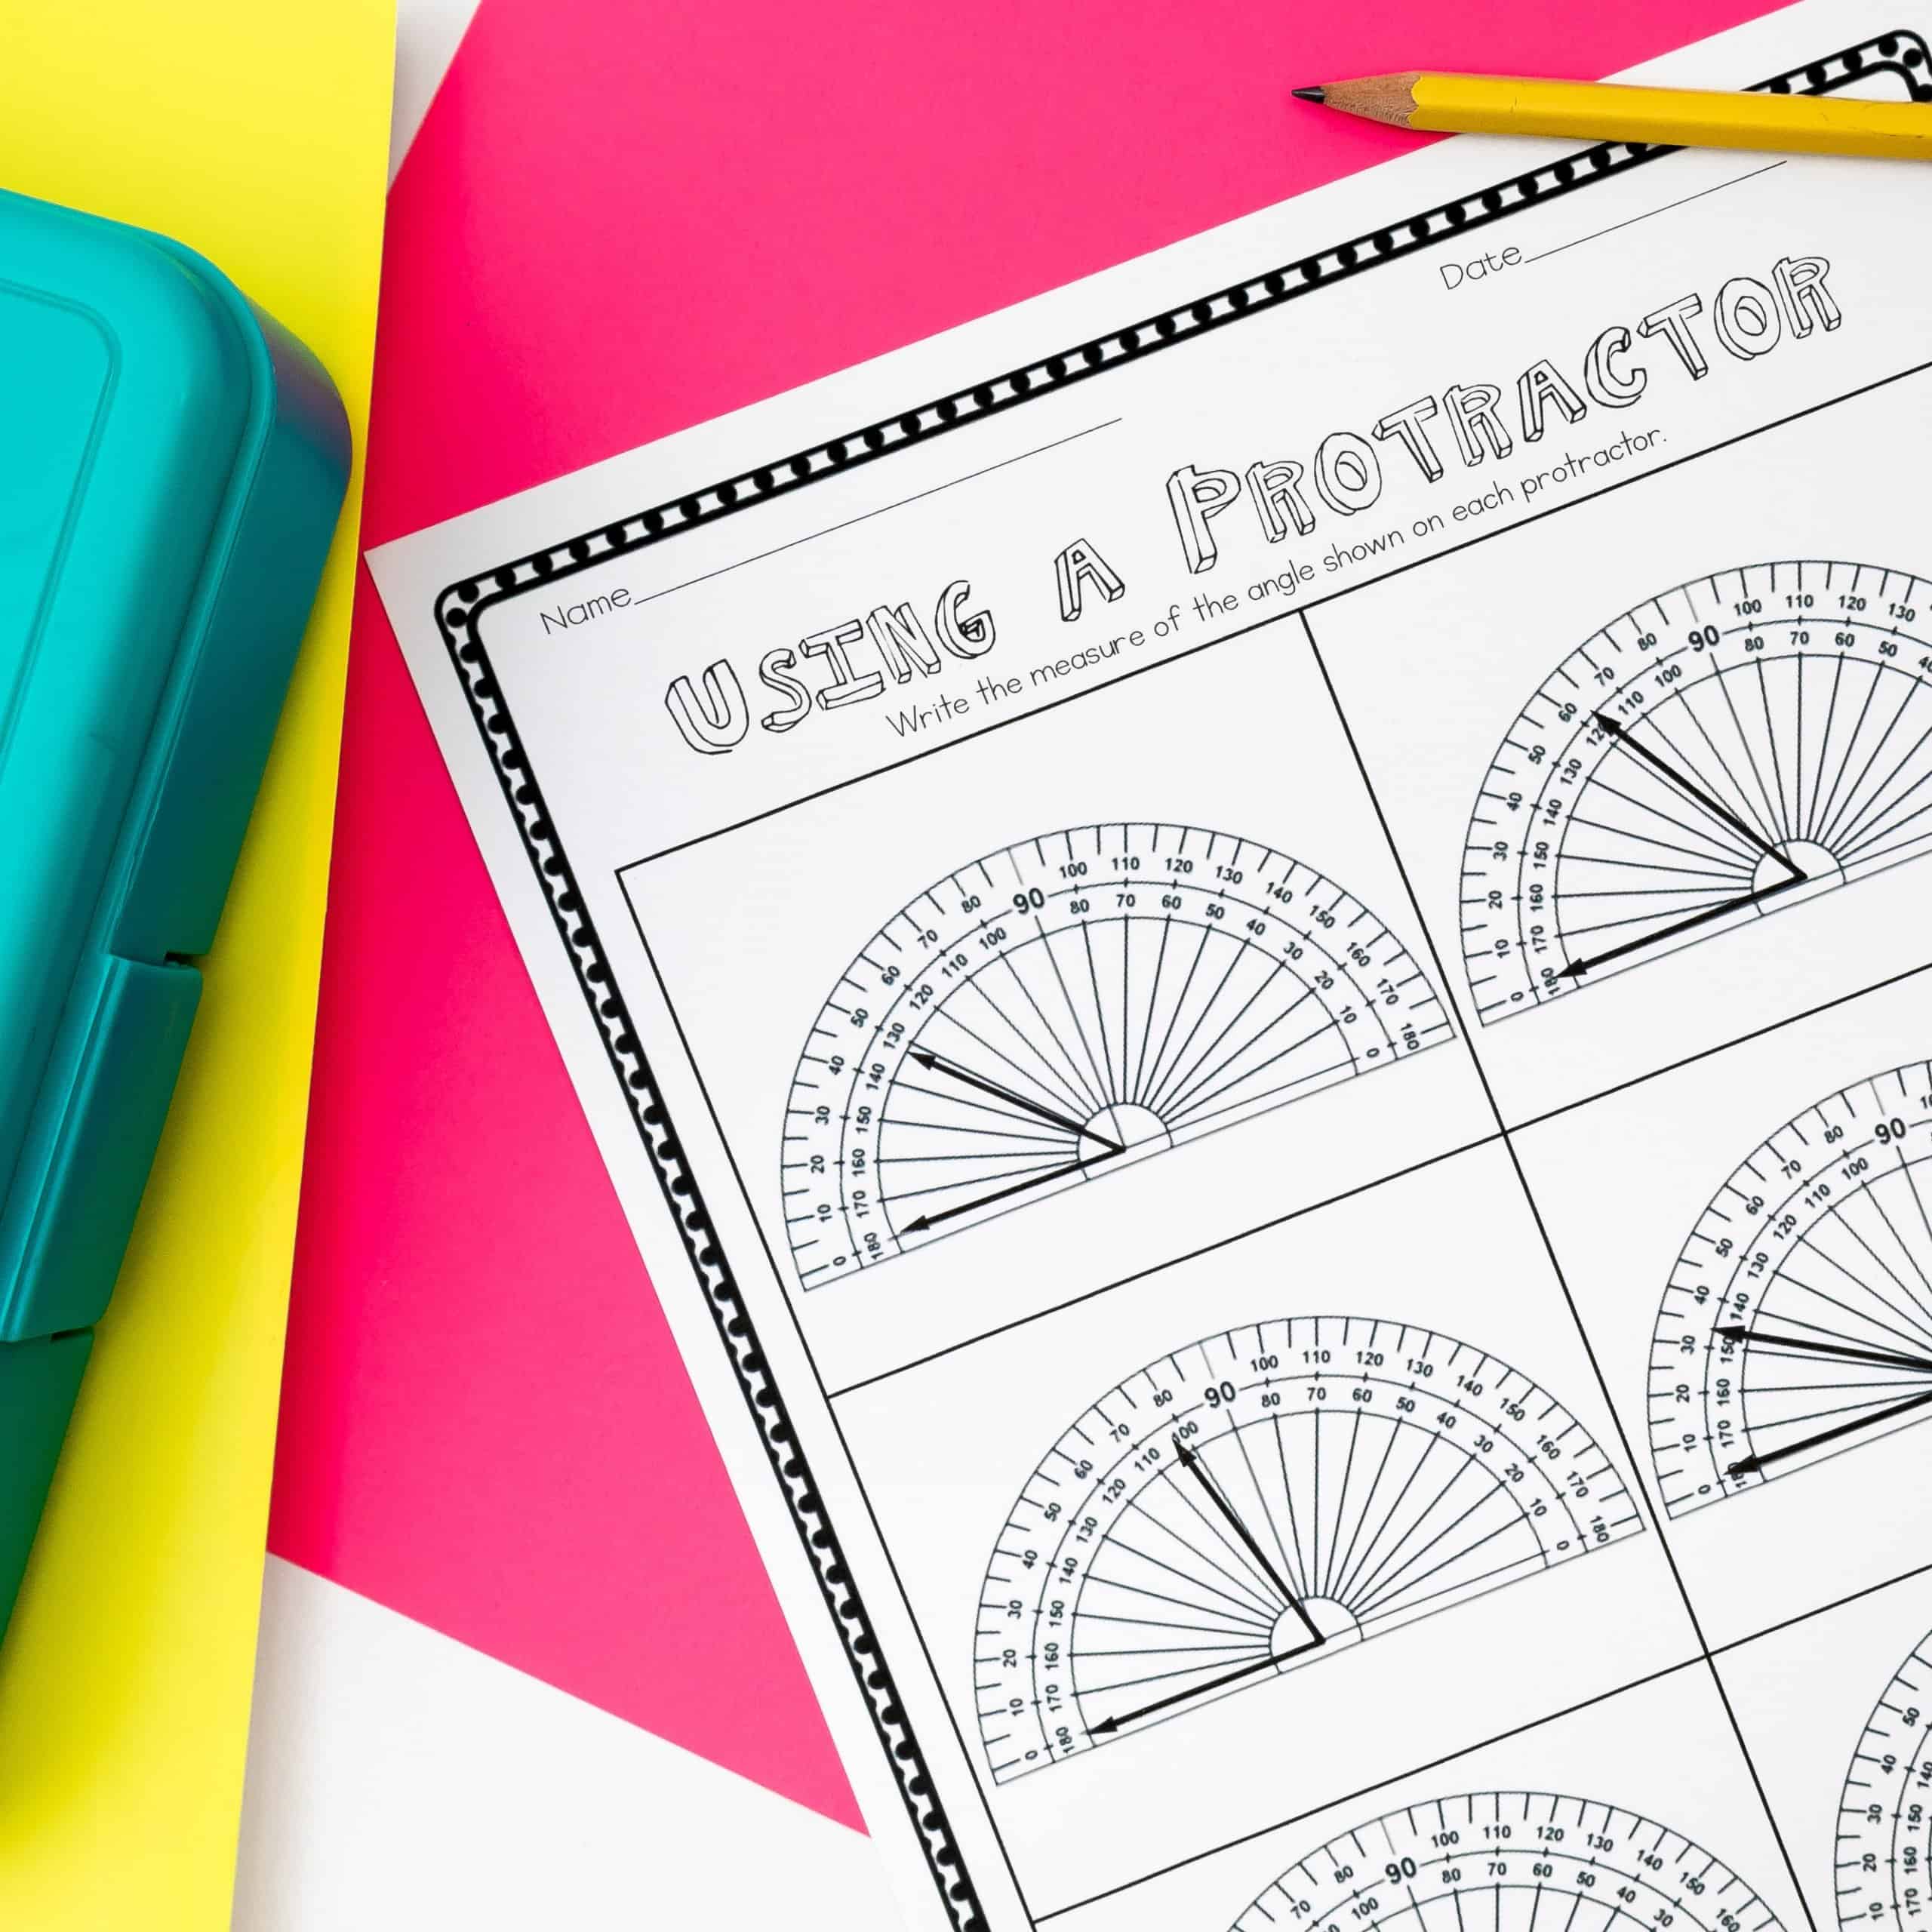
When first giving students a protractor, give them the opportunity to make observations about the protractor. You may even want to record those observations for later reference. I like to introduce how to measure angles with the Study Jams slide show on measuring angles. Then, I spend a bit of time explicitly teaching students how to use a protractor to measure angles. You’ll need to give students the opportunity to practice measuring angles with a protractor.
I’ve found that measuring angles worksheets with an included protractor are easier for students than using their own protractor, that this is a good scaffold for students.
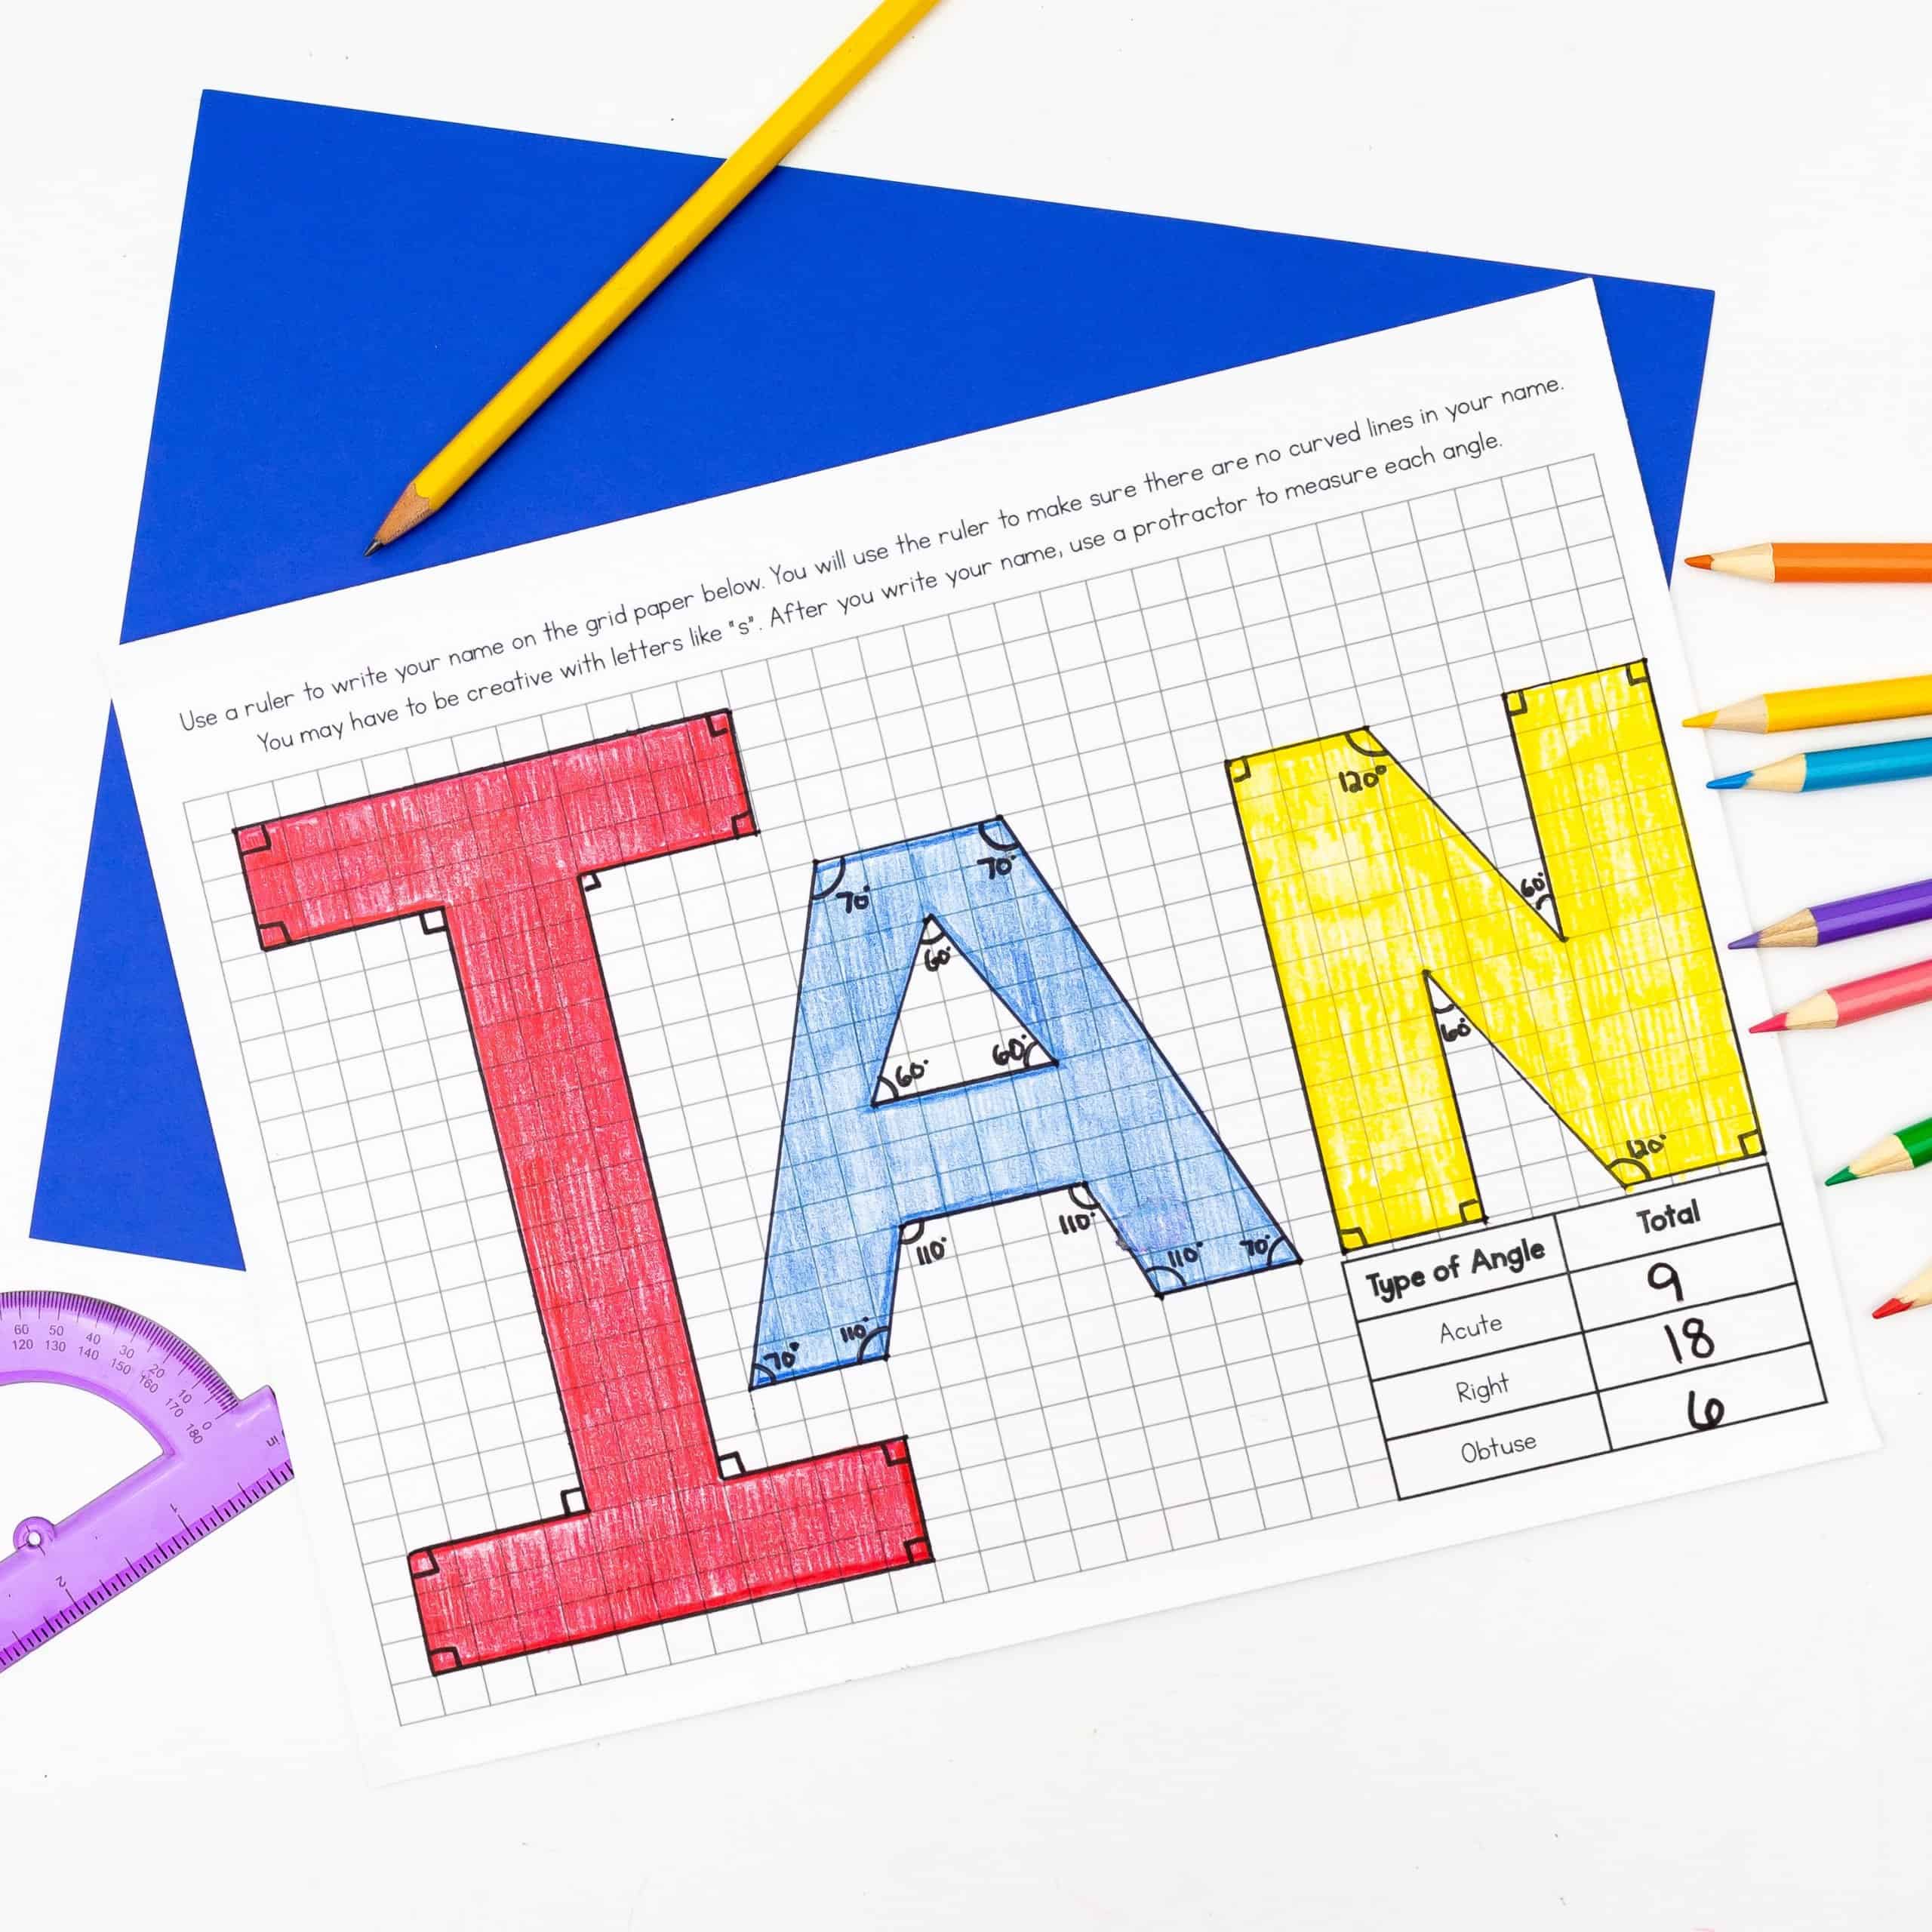
Once students show proficiency using a protractor, they will love this angle names activity. Students write their name on grid paper. They can use a ruler to write their name so that they only write straight lines. You may want to demonstrate ways to create a ”s” or an “o” using a ruler, because that can be tricky. Students do not have to write exactly on the lines-diagonal lines are needed for a variety of angles. After students write their name, they use a protractor to find the measure of each angle.
This lesson demonstrates how angles are additive. Give students a baggie of precut angles found on the following page. Have students find two angles that can be combined to form the following angles: 90 degrees, 108 degrees, 160 degrees, 30 degrees, 100 degrees, and 40 degrees.
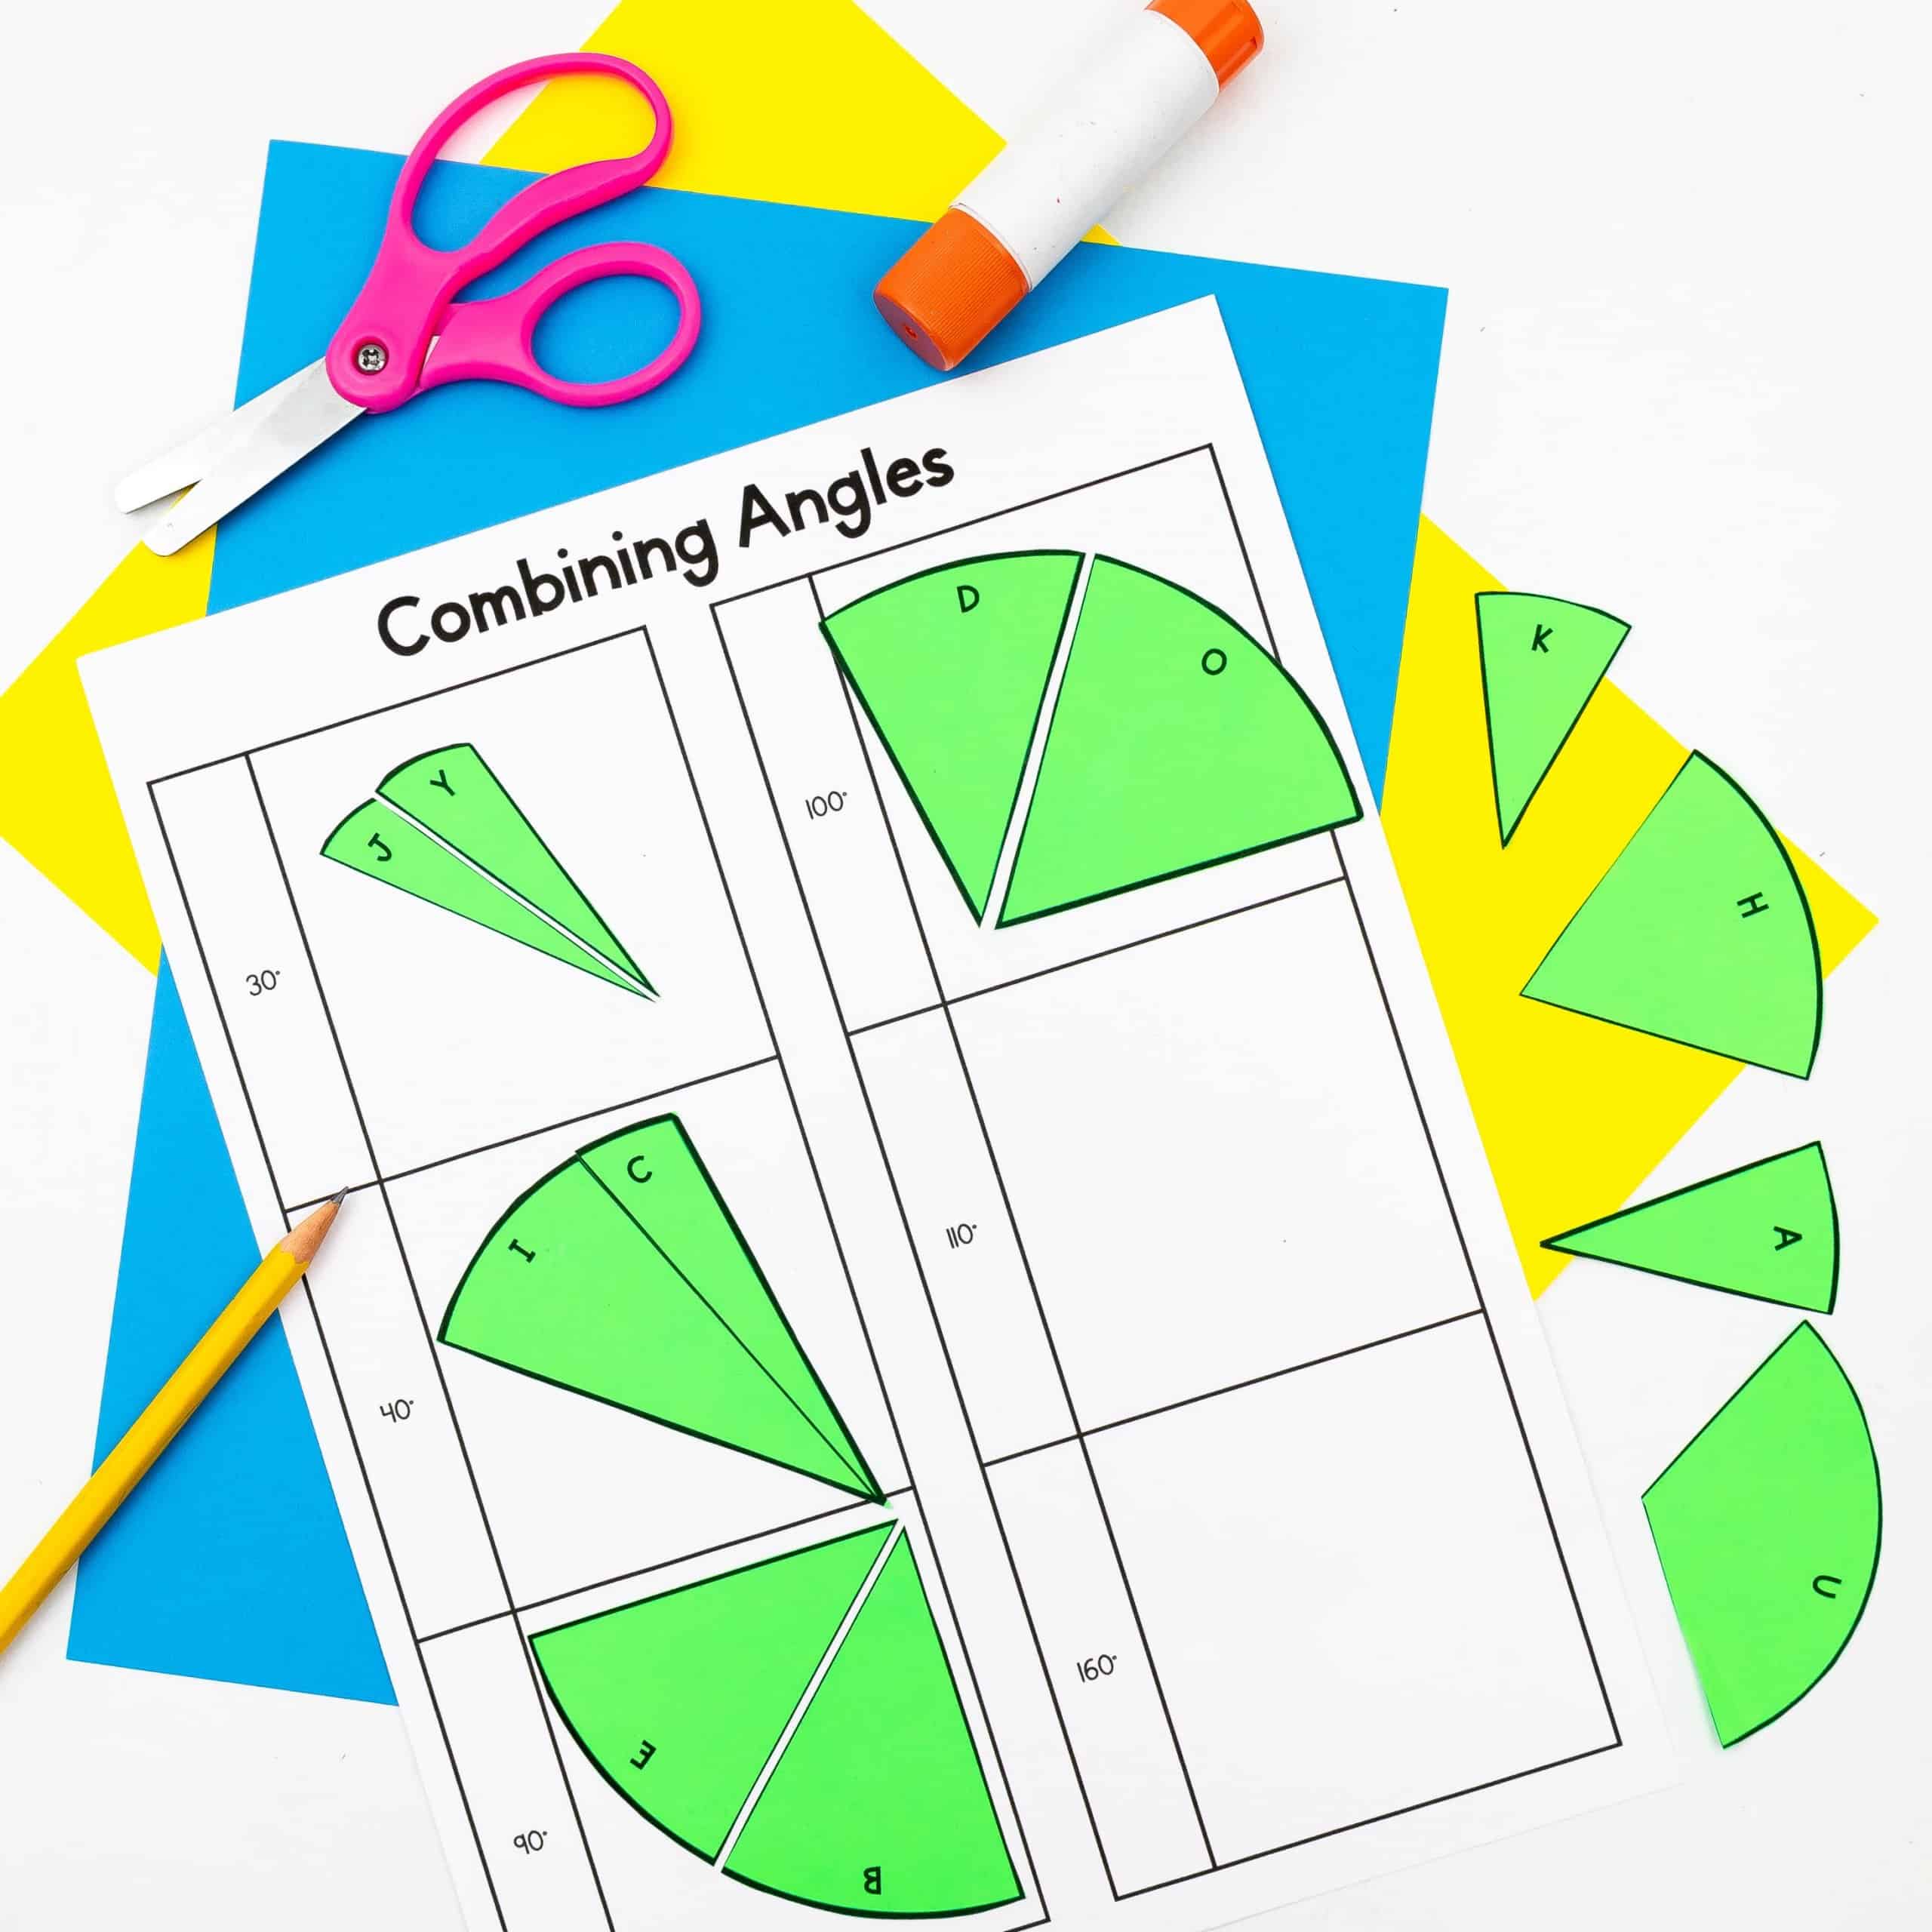
After students find the matches explain that this means that when an angle is decomposed into parts. The angle measure of the whole is the sum of the angle measures of all the parts. Draw an angle and split the angle into two parts and give an approximate measure of each angle. Ask students to find the sum of the total angle.
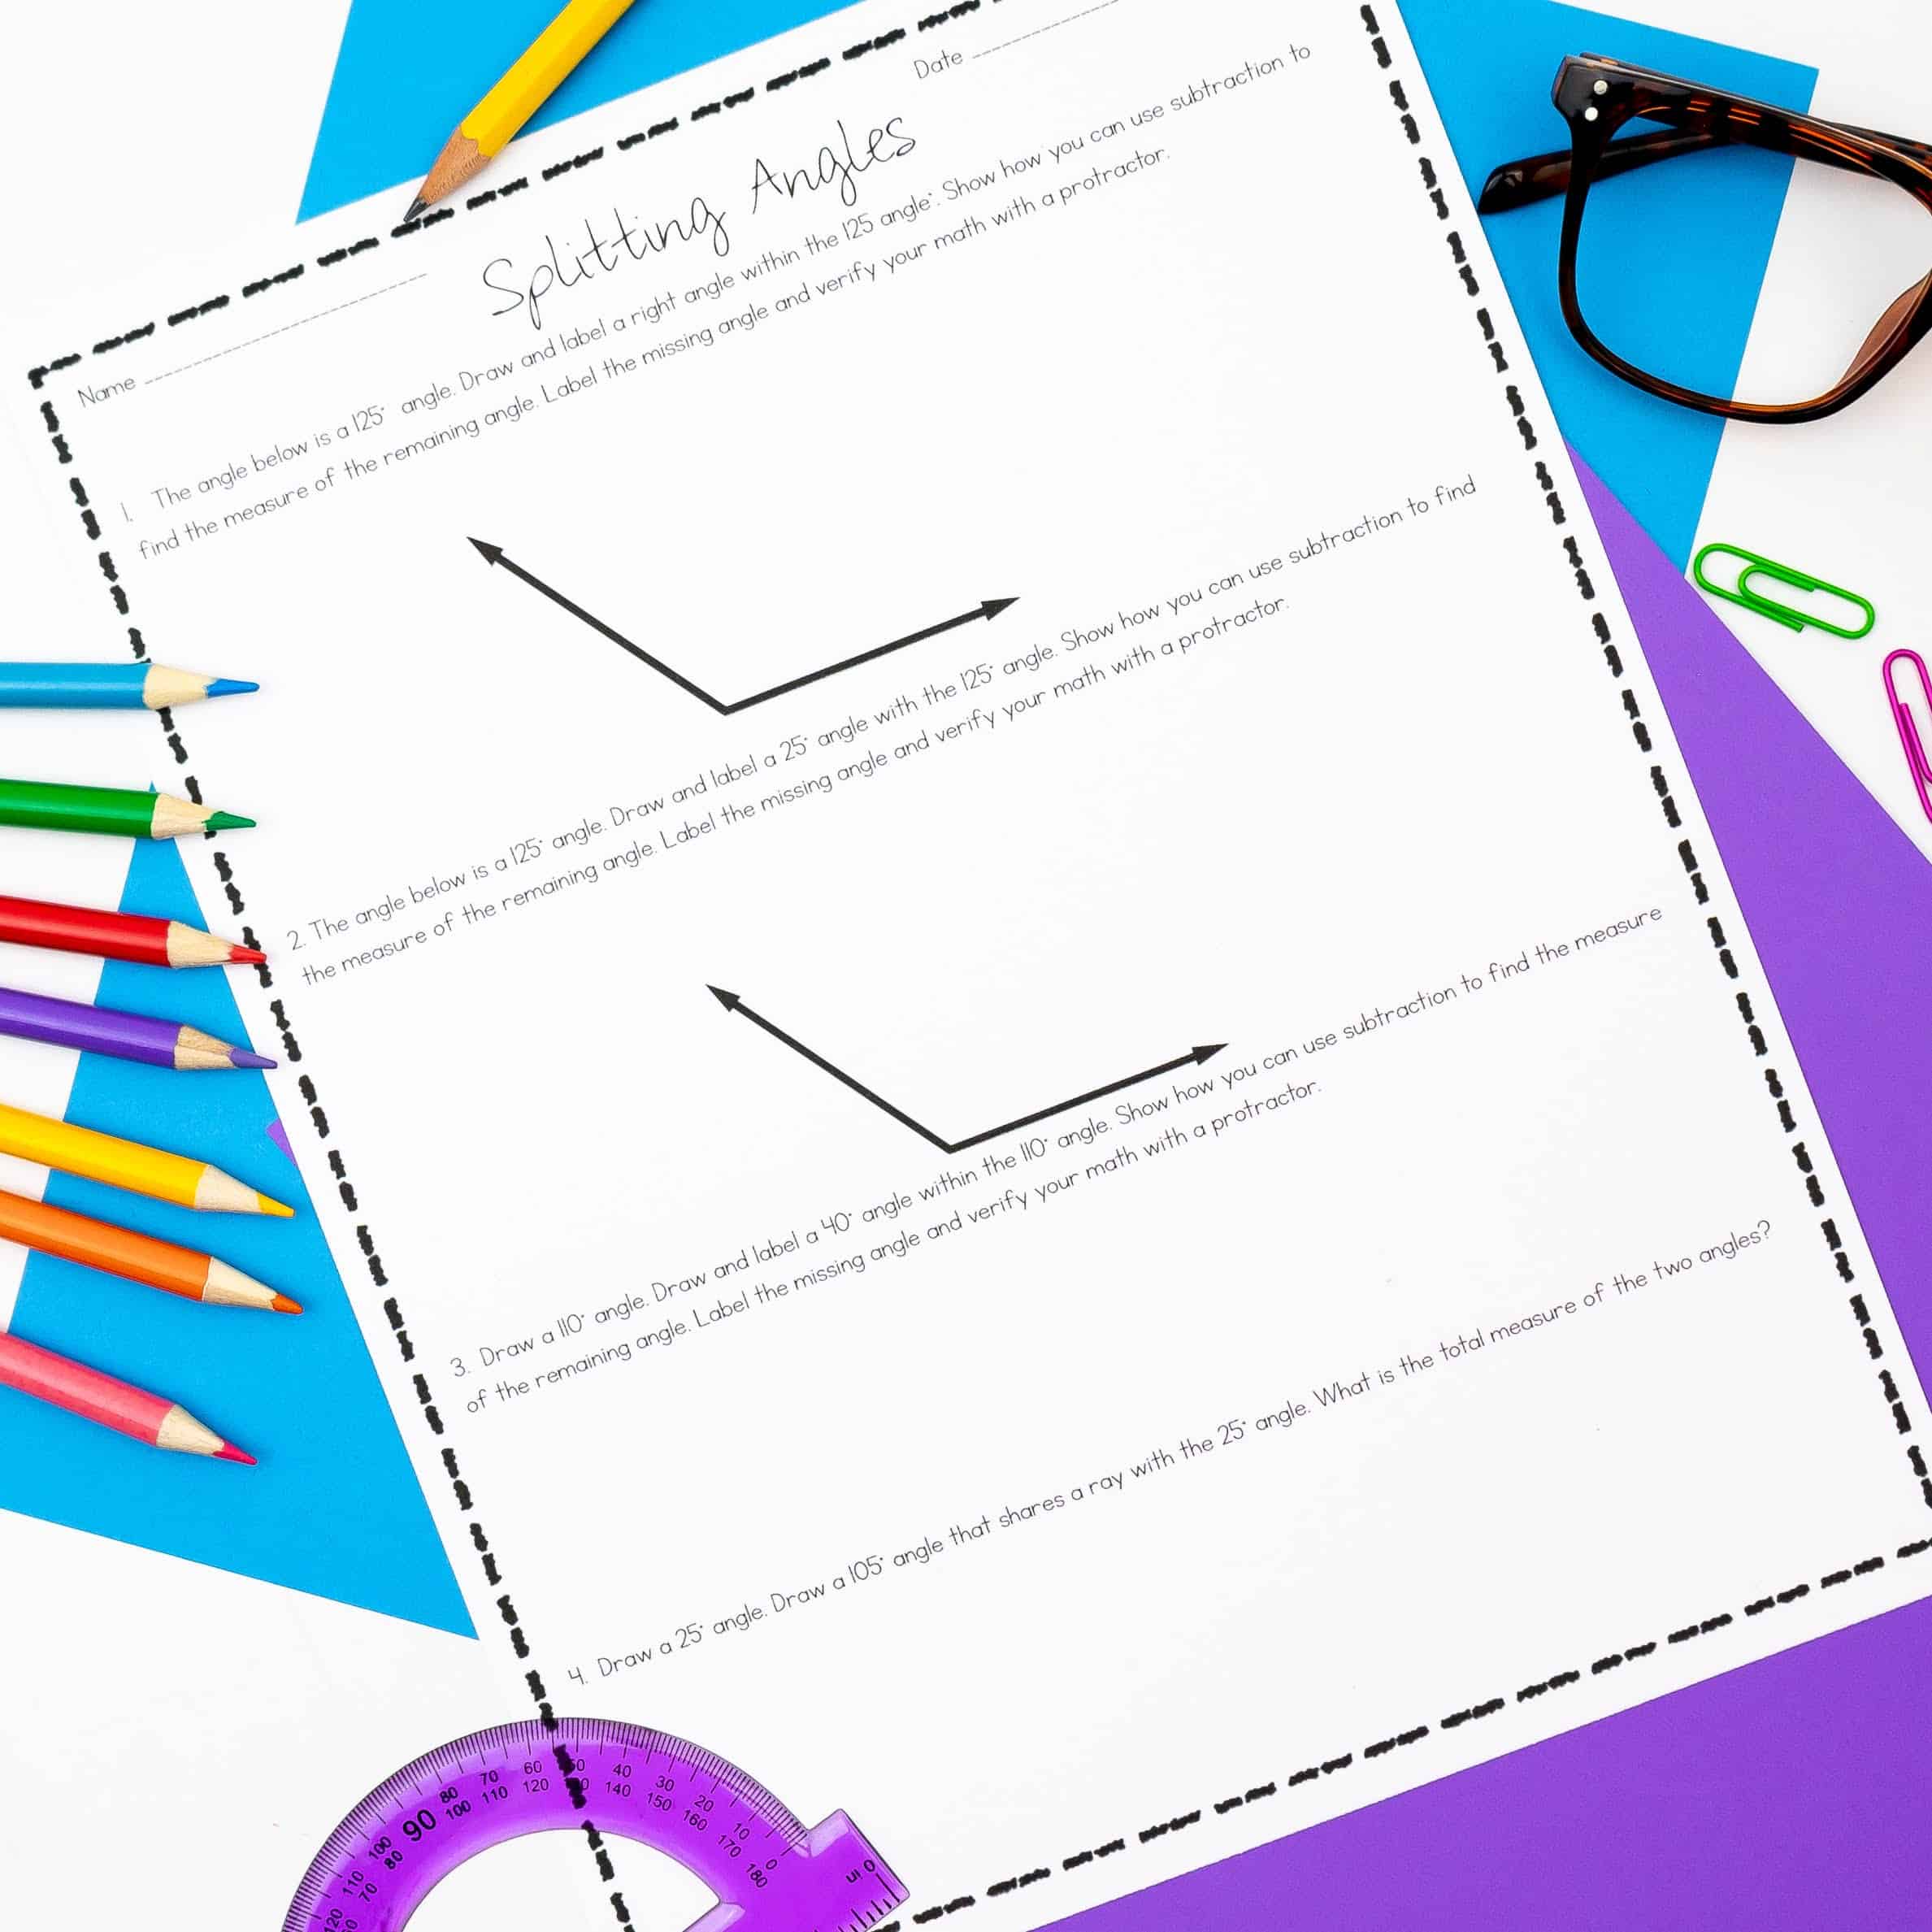
Then, draw an angle and split it into two parts. Give students the total degrees of both angles and the measure of one of the parts of the angles. Have students determine the degree of the missing angle. The can complete this measuring angles worksheet to further show their understanding.
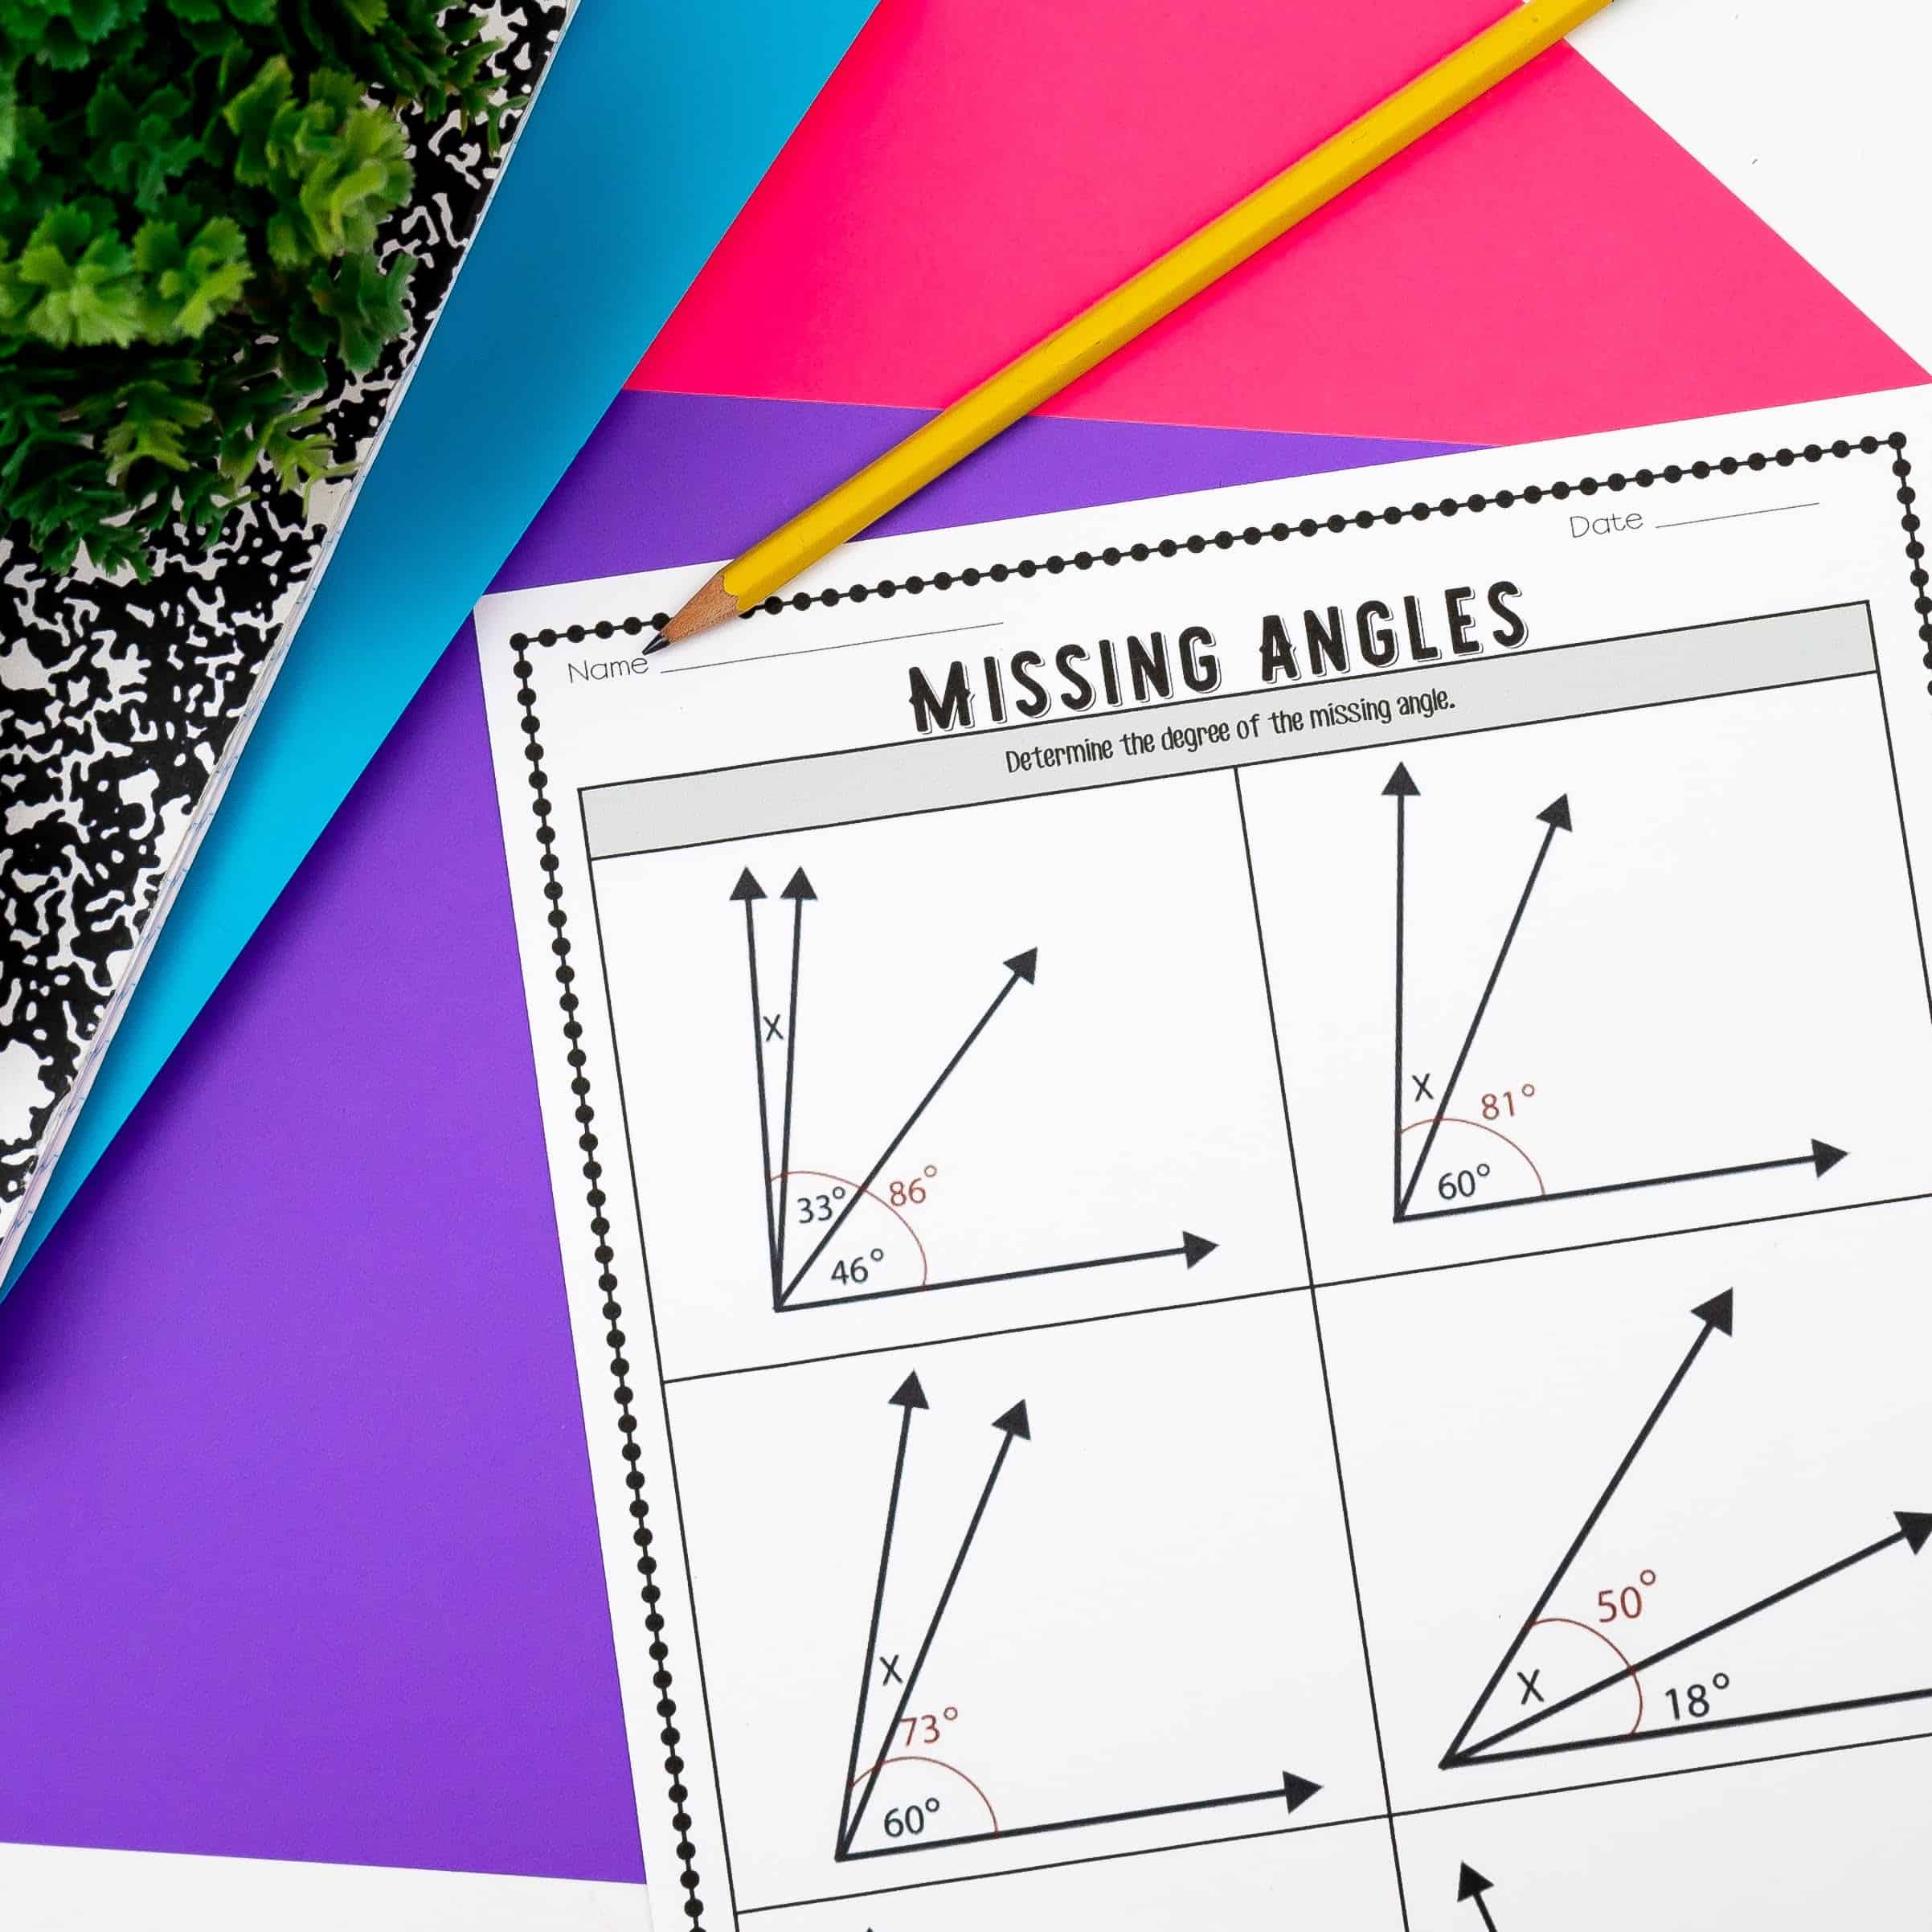
If additional skills practice is needed, I like using worksheets similar to the one below to let students practice finding the missing angle measurement. This is a great way to reinforce the concept of parts-and-wholes.
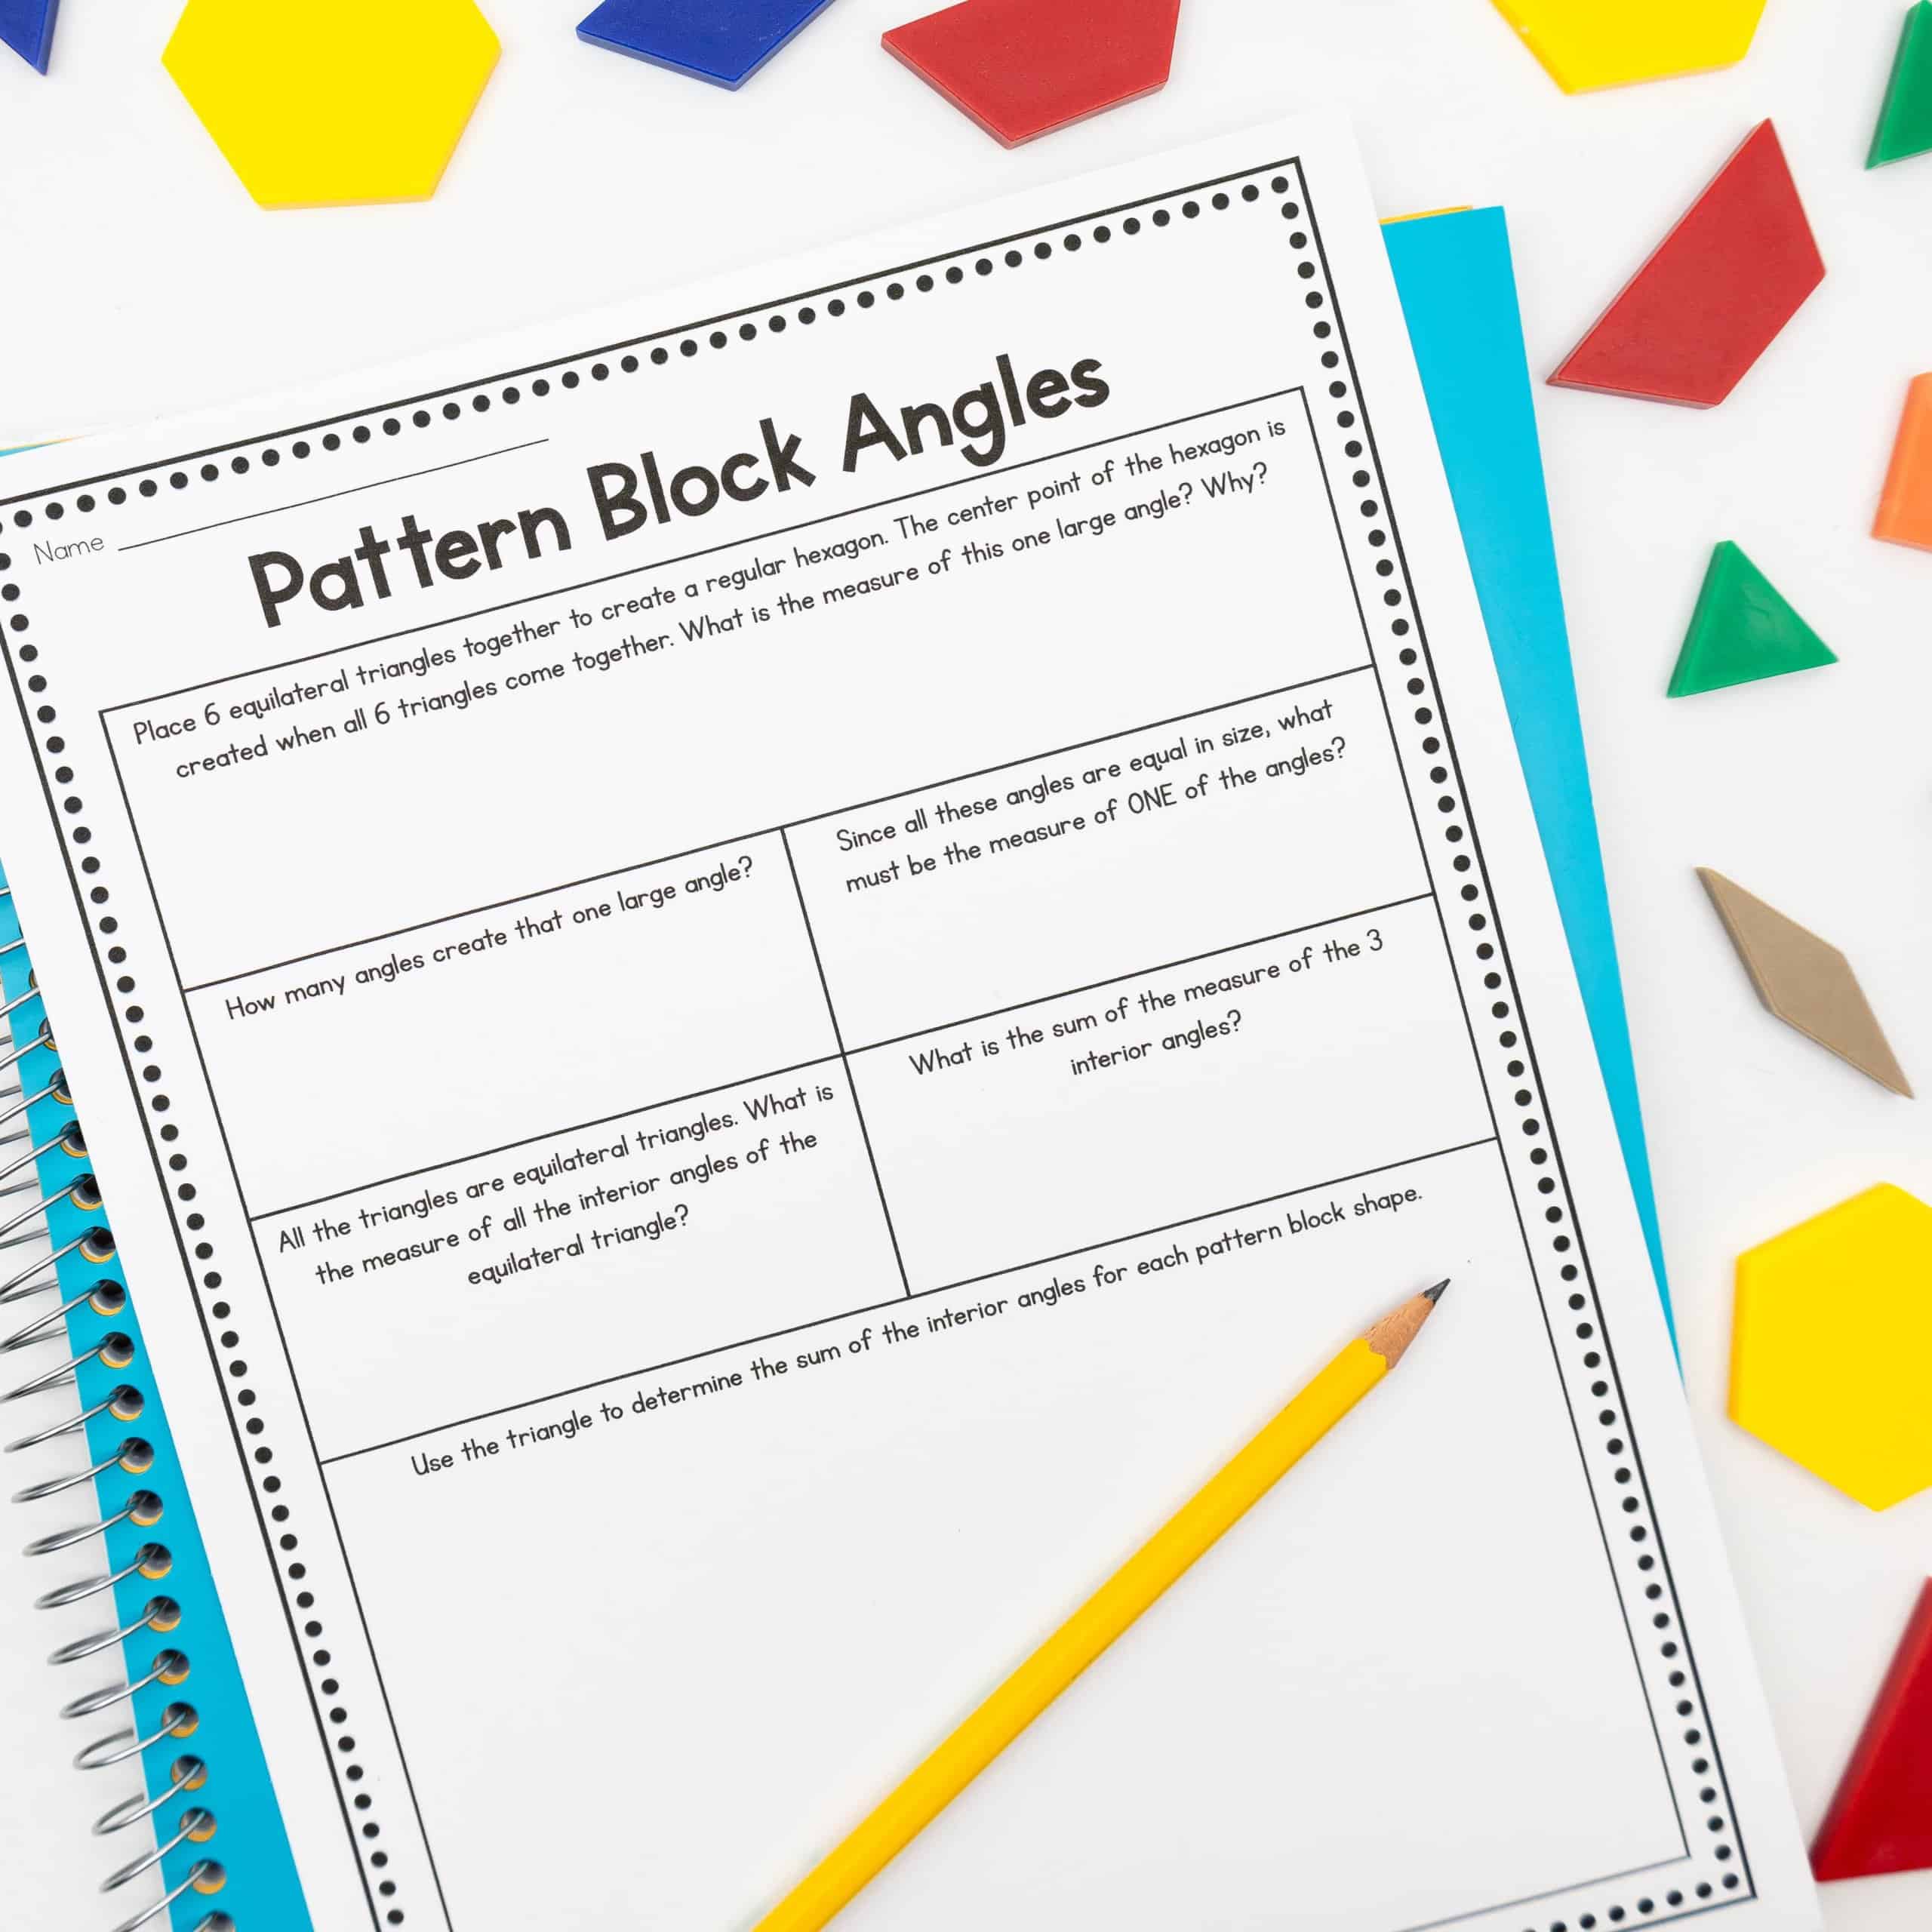
This is a fun problem solving activity. Students use pattern blocks as a tool for measuring angles. We begin my discussing an equilateral triangle and its angle measurement. With that information, students can solve the remaining problems without using a protractor.
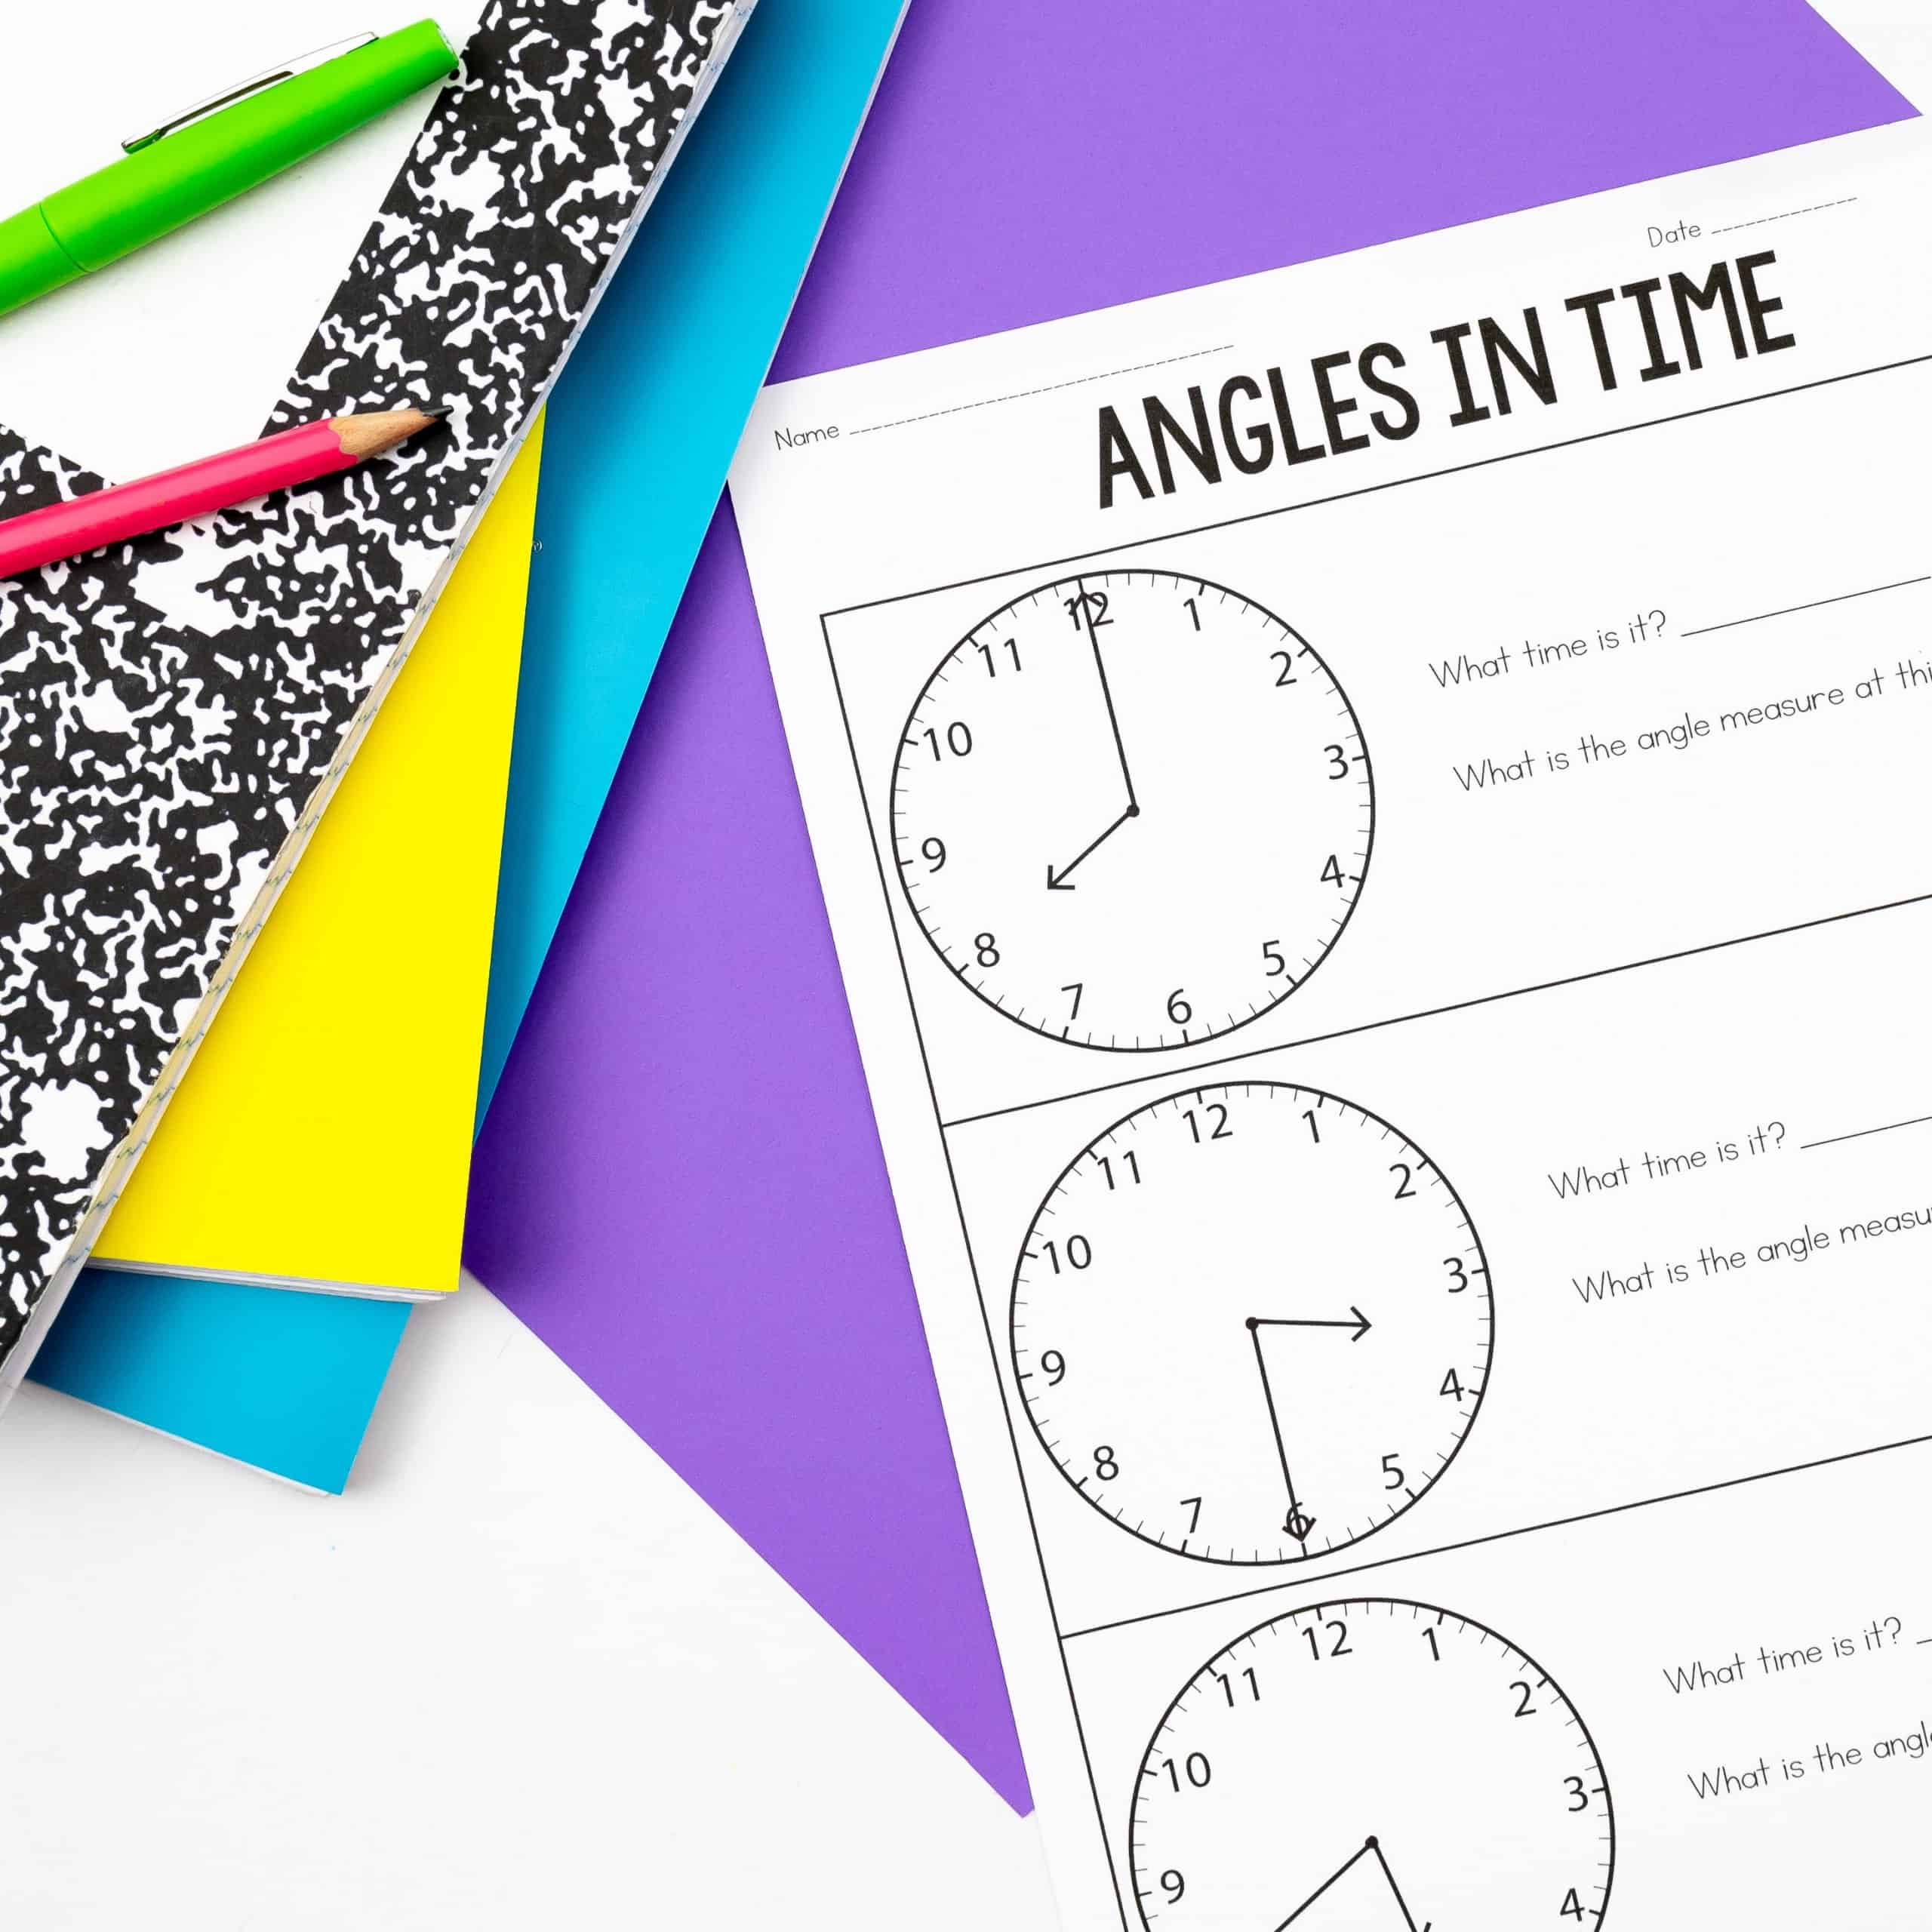
Another fun measuring angles worksheet is this angles in time activity. Students find angle measurements using a clock. This includes a little time practice, which my students always need. Once again, students can complete this activity without a protractor. Once they realize there are 360 degrees in a circle, they can divide to find the measurement of 5 minute increments.
Hopefully, you’ve found several useful measuring angles worksheets and activities! If you’d like to learn more about teaching upper elementary math, be sure to check out this post. It’s packed with great ideas!